The magic of Neo-pixels
After writing this title, I realized there is a post from Adafruit with the same title. And that is for a good reason, in my opinion!
Neo-pixels are not just a strip of LEDs in series! They are individually addressable through a single data wire, and this makes them very special in terms of what you can do with them! Each one of the LEDs has an integrated circuit (called WS2812). I suggest this part again from Adafruit if you are interested!
The bottom line is that there are 3 bytes of data for each RGB LED, each one representing how much of each R/G/B is going to be in each LED. 1 byte is an integer from 1 to 255, and this is your resolution for each color as well. So the remarkable thing is that the whole strip operates like a huge (and slow) shift register!
The way that the system works is straightforward: After you have fed a new value to the data wire, it is staged for refreshing in the first LED (closer to the micro-controller). When you feed the second set of 24bits, it goes to the second LED in the chain and so on. Finally, setting the data wire “low” for more than 50 microseconds, the colors are refreshed for the whole strip.
Construction/inspiration
I was mainly inspired (and educated about the project) by Great Scott that did the same with an Arduino. I used an ESP32 directly because I wanted to be able to refresh the screen wirelessly. I also have a single Arduino for experimentation, and I wanted this to be a permanent installation in my room.
Components
- The LED strip (ordered from Ali-express)
- a strong power supply (4 amps). The LEDs draw quite some current when they are fully lit.
- Beach wood for support
- a thick white acrylic sheet (I found that on the street actually - that was nice since it’s not cheap!)
- carton (that is to separate the LEDs, so they have a “pixel-like” definition when lit.
- ESP32 to control the LEDs and interface with Wifi.
Tips:
You might have to put some supply in parallel - the LEDs have quite some resistance, and LEDs closer to the end of long chains may end up with lower current and inaccurate/faded colors. Maybe have a look at this video to better understand what I’m talking about.
In my github repo you can find a version of the code I used plus a python script I made to control it.
The way the remote control works is that I send REST requests containing serially-encoded in the text the values for all the LEDs. If you think about what I should have done to do this before looking at my code it will be easier to read it.
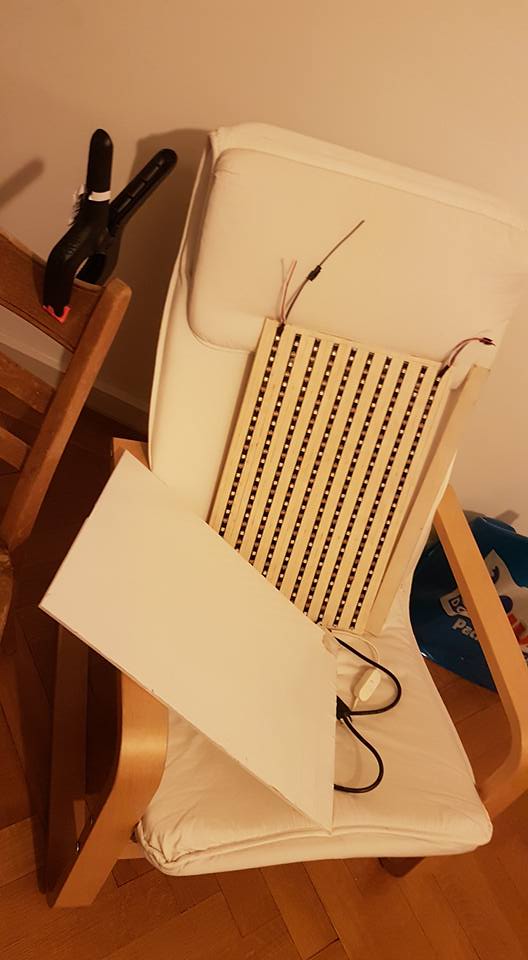
Here are some photos of the construction:
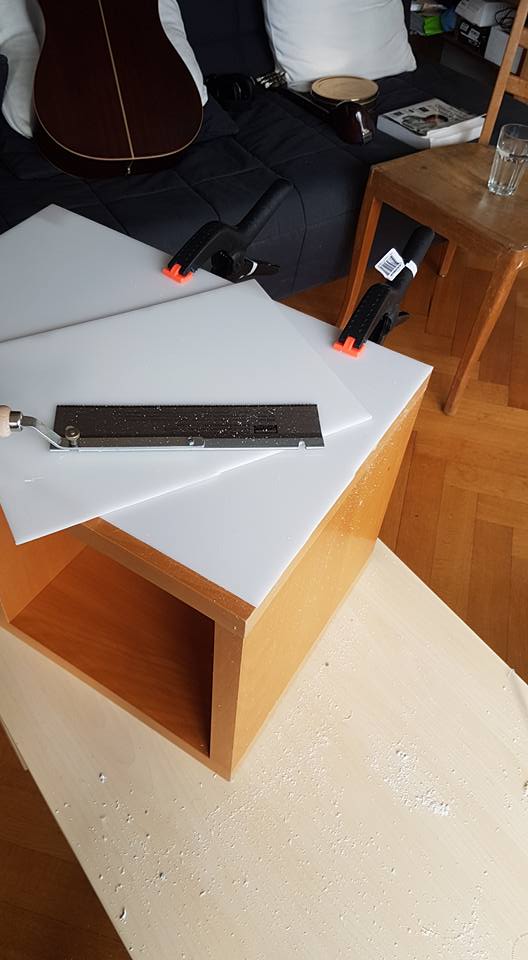
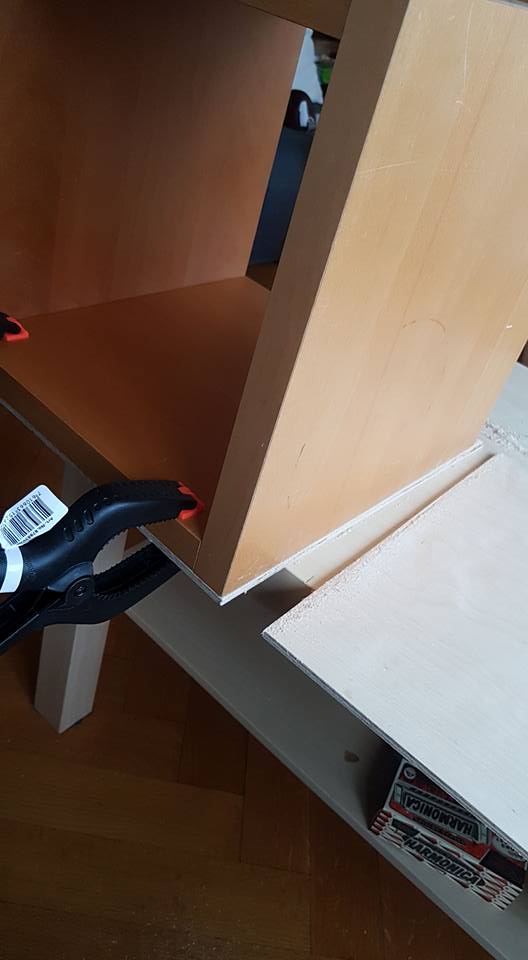
After I split the strip, the matrix glued it to the wood, and before I soldered all the connections for the power and data.
Constructing the frame:

A video of the matrix running a default script with an arduino before I constructed the carton grid to give it the pixel look:
Finally, I made a short python script that translates ASCII art to color data for the matrix! Here is an example:
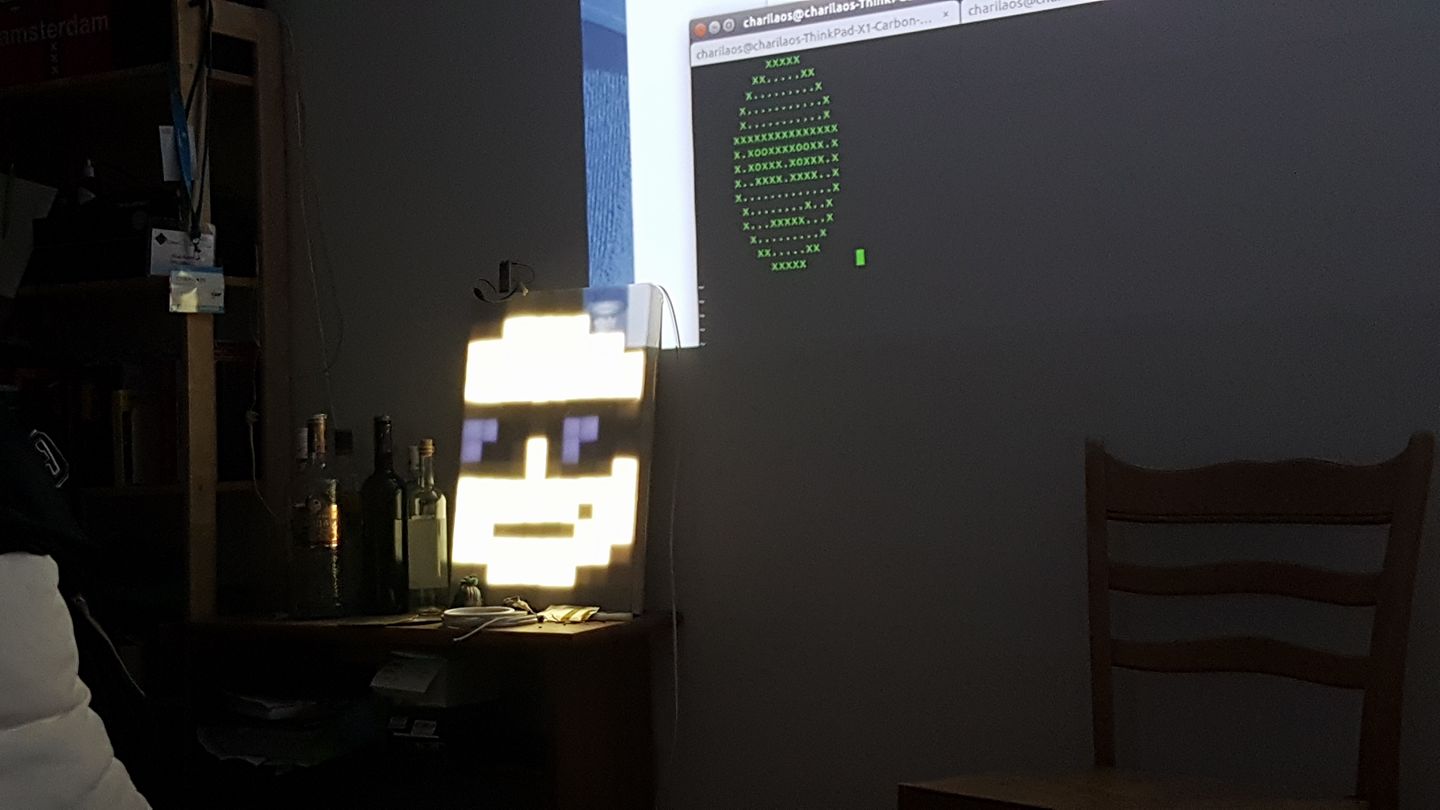
In the GitHub code upload, you will also find the ASCII codes for that.
H.